Installation & Configuration of Lotus Notes Client v9.0
Simple & Easy Installation & Configuration Steps to Follow
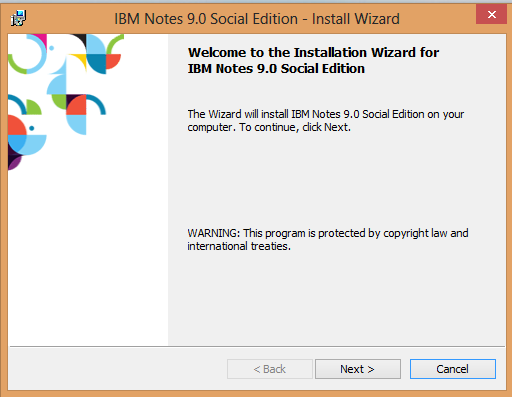
Step 1
Locate the installation setup file for your release of IBM Notes 9.0.
The IBM Notes 9.0 Social Edition - Install Wizard dialog will be presented, click Next.
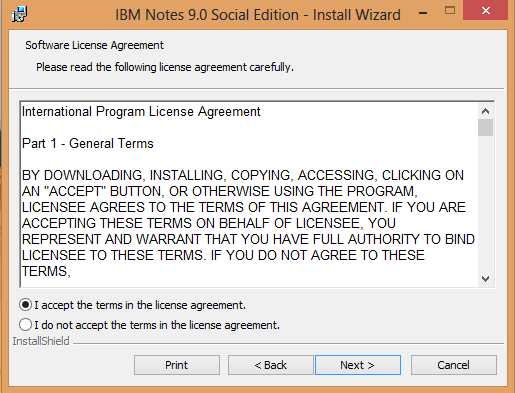
Step 2
Accept the terms of the license agreement by clicking I accept the terms in the license agreement and click Next.
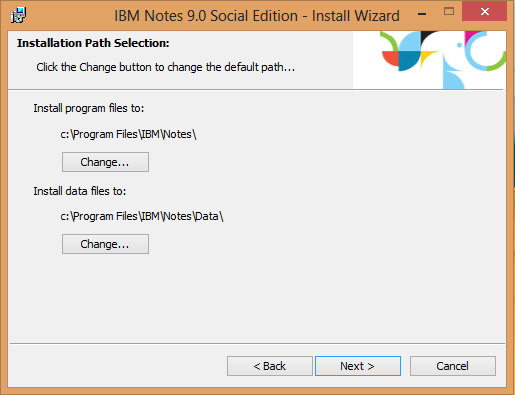
Step 3
Choose program files and data files installation paths and click Next.
Step 4
Choose installation options. Select your features and click Next.

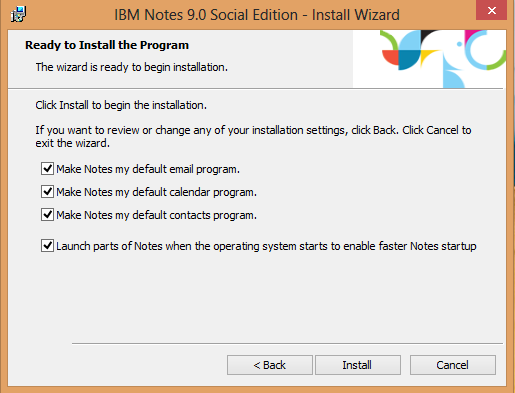
Step 5
Choose settings of Notes and click Install to begin installation of Notes.
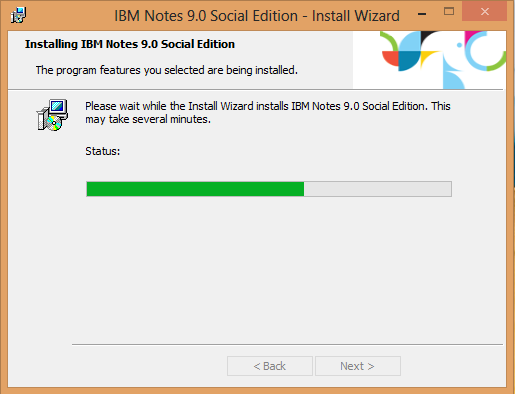
Step 6
The Notes installer then begins extracting program and data files to hard drive.
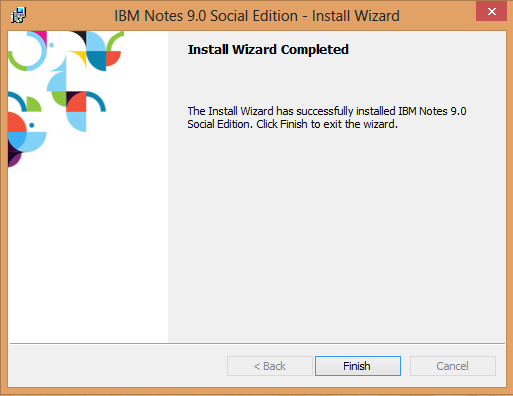
Step 7
After the installer has completed, click Finish.
Now, the software is installed on the computer, the next step is to configure the Notes 9.0 client.
Step 8
Start Notes 9.0 either from the Start screen or the Desktop icon.

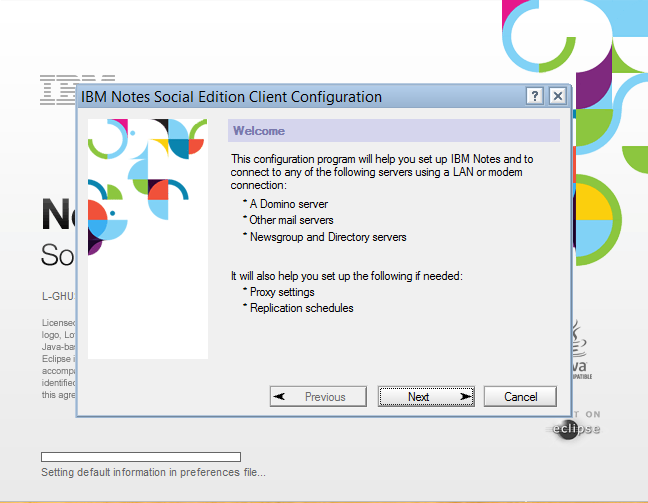
Step 9
The configuration wizard begins, with information that need to enter to configure Notes 9, click Next.
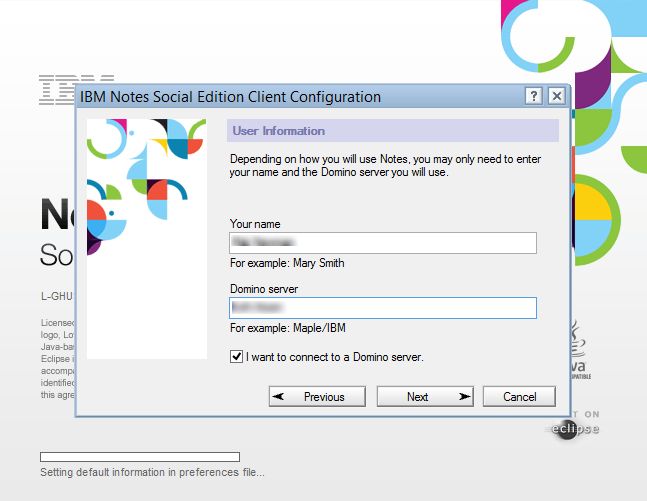
Step 10
Enter your IBM Notes username and Domino server if you want to connect your Notes to Domino Server and click Next.
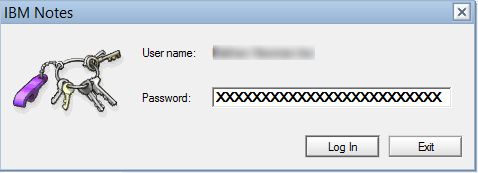
Step 11
Now you will be prompted for IBM Notes User ID Password, enter your password and click Log In
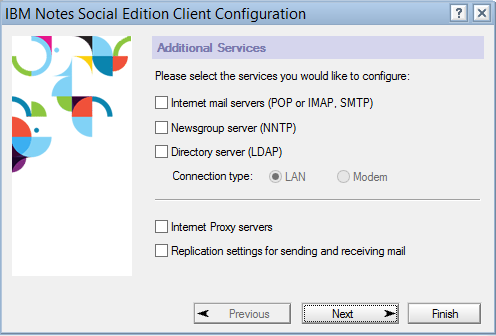
Step 12
Notes has features which enable to connect Notes client to a variety of other Internet services. Select option and click Next..
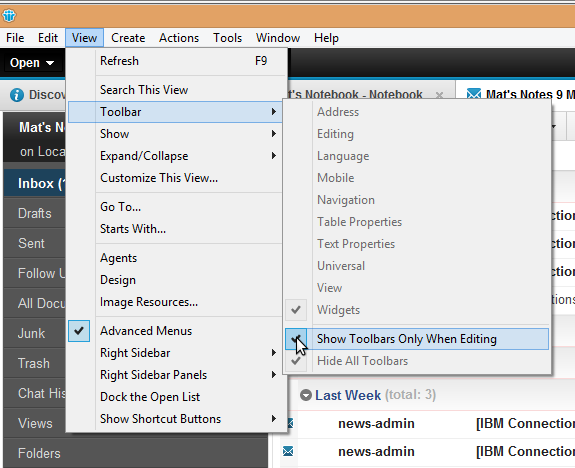
Step 13
The new Notes 9.0 client has a additional features provided through Toolbars, you can turn them back ON by turning OFF the Show Toolbars Only When Editing option from the Notes 9.0 menu.
Step 14
Finally, installtion & configuration of Lotus Notes client is completed.
